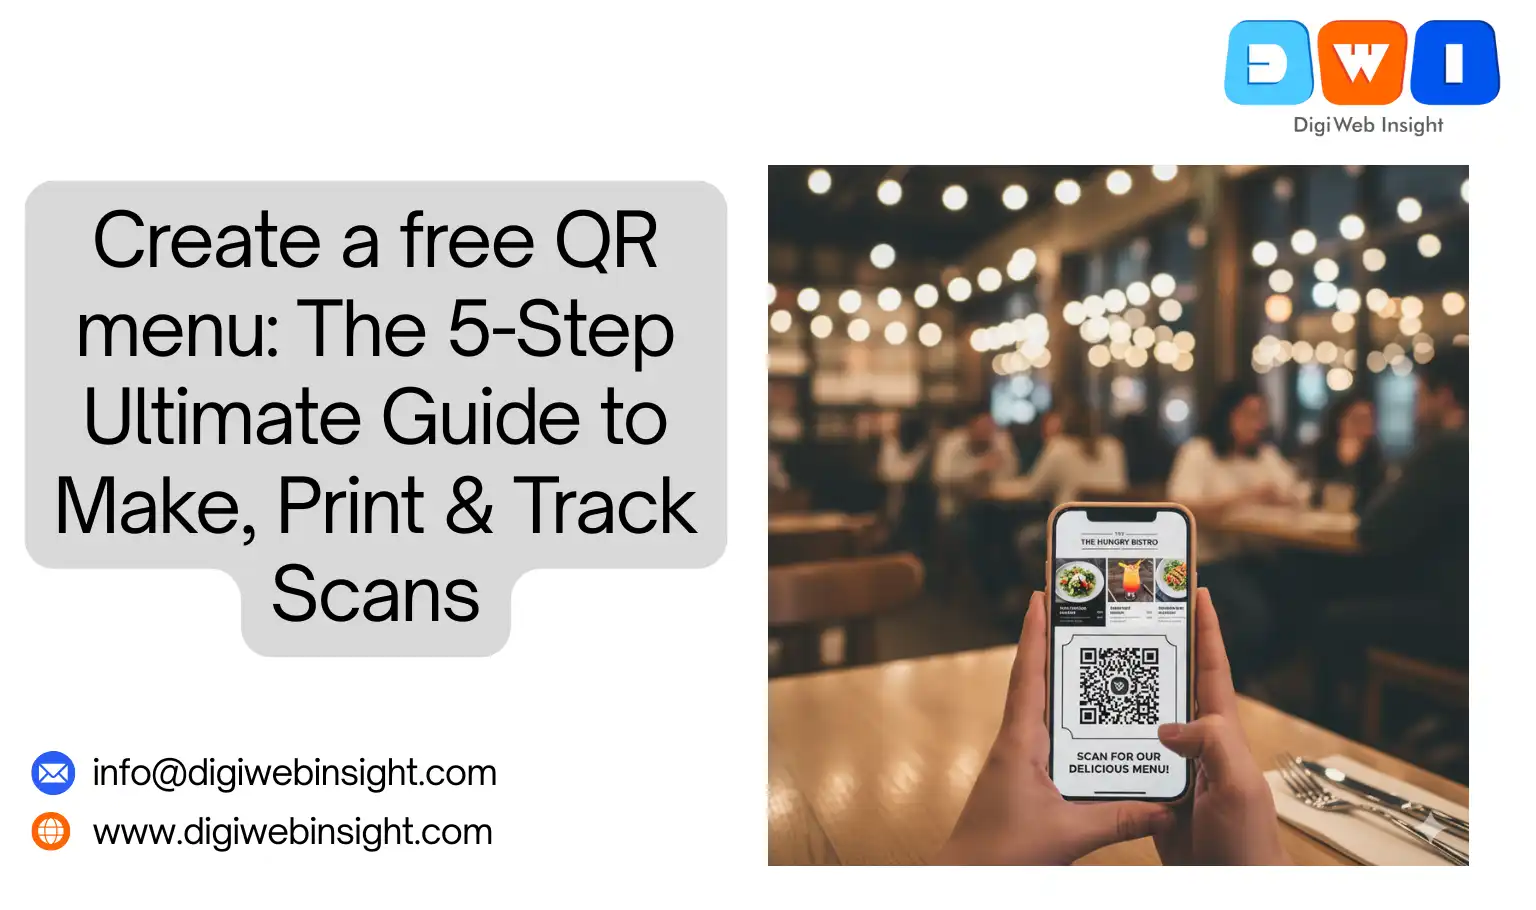
Look around any modern restaurant, bar, or cafe. You’ll see them on every table: small, unassuming black-and-white squares. The QR code menu has quietly become one of the most significant operational shifts in the food and beverage industry. What started as a temporary fix for hygiene-conscious diners has now become a powerful, permanent tool for smart business owners.
Physical menus are a constant drain. They cost a fortune to print, they get stained and torn, and they are instantly obsolete the moment a dish is 86’d or a price changes.
If you’re still relying on them, you’re wasting money and time.
The good news? You don’t need expensive software or a team of developers to get on board. This ultimate guide will show you how to create a free QR menu from scratch, how to print and display it effectively, and—most importantly—how to track QR menu scans to get real, actionable data about your customers.
Why You Must Switch to a QR Menu (The Benefits Go Way Beyond Hygiene)
If you think QR menus are just about “contactless” dining, you’re only seeing 10% of the picture. The real power of a digital menu lies in its flexibility, cost-savings, and data.
- Zero Printing Costs, Ever: This is the most obvious win. Need to update your beer list? Add a seasonal special? Change the price of avocados again? You can make those changes in seconds, for free. No more printing 50 new menus, no more ugly Sharpie mark-ups.
- Instantaneous Updates: Imagine a busy Friday night. You run out of salmon. With a digital menu, you can log in, mark “Salmon” as sold out, and save your servers the dozen “Sorry, we’re out of that” conversations.
- A Better, Richer Customer Experience: A physical menu is limited by paper. A digital menu can be a portal. You can include:
- Mouth-watering photos for every single dish.
- “Popular” or “Chef’s Favorite” badges.
- Detailed ingredient lists and allergen warnings (e.g., “Contains nuts,” “Gluten-Free,” “Vegan”).
- It’s Eco-Friendly: Reducing your paper waste is a fantastic, authentic branding angle that resonates with modern consumers.
- The Power of Data (The “Track” Part): This is the game-changer. What if you knew that 80% of your customers scan the menu within 5 minutes of sitting down? Or that your “Specials” section is the most-clicked link? When you track QR menu scans, you move from guessing what customers want to knowing.
The 5-Step Guide to Create a Free QR Menu
Let’s get into the step-by-step process. We’re going to build a powerful, trackable QR menu using only 100% free tools.
Step 1: Make Your Digital Menu (The “Destination”)
This is the most critical step, and it’s the one most people rush. The QR code is just a key; your digital menu is the door it unlocks. It must be mobile-friendly, easy to read, and load fast.
You have two main free options.
Option A: The PDF (Highly Recommended) This is the simplest, most popular method. You create your menu as a beautiful, single-page (or multi-page) PDF.
- Go to [Canva (External Link:
https://www.canva.com/)]. It’s a free-to-use graphic design tool that runs in your browser. - Search for “Menu” templates. Canva has thousands of professional, stunning menu templates for free.
- Customize your template. Add your logo, dishes, prices, and photos. Keep it clean and simple. Pro Tip: Use a large, clear font. People will be reading this on a 6-inch phone screen.
- Download as “PDF Standard.” This keeps the file size small for fast loading.
Option B: A Simple Webpage (More Advanced) If you have a website (e.g., WordPress, Squarespace), you can create a dedicated, hidden page like www.yourrestaurant.com/menu.
- Pros: Loads very fast, can be linked to your main site, and is great for Google SEO.
- Cons: Harder to format nicely, and not all website builders make it look good on mobile without some work.
What Not to Do: Do not just upload a low-quality .JPG image of your old physical menu. It’s lazy, loads slowly, and forces customers to pinch and zoom, which is a terrible experience.
Step 2: Host Your Menu File Online (Get Your URL)
Your PDF menu is on your computer. You need to put it online so it has a public URL link. Again, this is 100% free.
- Open Google Drive. (If you have a Gmail account, you have Google Drive).
- Upload your menu PDF (from Step 1).
- Right-click on the uploaded file and select “Share.”
- A box will pop up. Under “General access,” change it from “Restricted” to “Anyone with the link.”
- Make sure the role is set to “Viewer” (so people can’t edit it).
- Click “Copy link.”
That’s it! You now have a free, permanent, public URL for your menu.
Step 3: Choose Your Dynamic QR Code Generator
This is the secret to a professional, trackable system. You must understand the difference between a “Static” and a “Dynamic” QR code.
- Static QR Code: The QR code links directly to your Google Drive URL. If you ever want to update your menu (e.g., upload a new PDF for the fall season), you get a new Google Drive URL. This means your old static QR code is now broken, and you must re-print all your table tents. This is a nightmare.
- Dynamic QR Code: The QR code links to a special short URL managed by a generator. You can log into that generator at any time and change the destination URL (your Google Drive link). This means you can update your menu PDF and change the link without ever re-printing your QR code.
For this, we’ll use a free, powerful tool that also tracks scans: [Bitly (Dofollow External Link: https://bit.ly/)].
Step 4: Make and Track Your QR Menu with Bitly
- Sign up for a free Bitly account. This is what gives you the dashboard to track scans and create dynamic links.
- In your dashboard, click “Create New” and select “Link.”
- Paste your Google Drive link (from Step 2) into the “Destination” box.
- Bitly will instantly create a short link (e.g.,
bit.ly/3xYqZ). - Now, look for the “Create QR Code” button. Click it.
- Success! Your trackable, dynamic QR code is generated.
- Customize it. Bitly’s free plan lets you change the color and download it in high-resolution PNG format. Add your brand color to make it pop (but keep the contrast high).
You have just created a QR menu that you can update infinitely and track every single scan.
Step 5: Test, Test, and Test Again
Do not print 100 copies of your code until you’ve tested it.
- Scan it with an iPhone (using the native Camera app).
- Scan it with an Android (using Google Lens or the camera).
- Does it open instantly?
- Does it take you to the correct Google Drive PDF?
- Is the menu readable on your phone without zooming?
- Go to your Bitly dashboard. Do you see your “click” (scan) show up in the analytics?
If you answered yes to all, you are ready to print.
How to Print and Display Your QR Menu Effectively
Making the code is only half the battle. How you present it matters.
Printing Best Practices:
- High Contrast is King: The best combination is a black code on a white background. If you use brand colors, make sure the code itself is very dark and the background is very light (e.g., dark blue on pale yellow). Never do light-on-light or dark-on-dark.
- High-Resolution Format: Download your QR code as a high-resolution
PNGorSVG. Do not screenshot it—that will result in a blurry, un-scannable mess. - Minimum Size: A QR code should be at least 1 x 1 inch (2.5 x 2.5 cm) to be easily scannable from a sitting position.
- The “Quiet Zone”: This is the non-negotiable empty white border around your QR code. Do not crop it. This “quiet zone” is what tells the camera, “This is a QR code.”
Display Ideas and Adding a Call-to-Action:
Don’t just stick a lonely QR code on the table. You must tell customers what to do.
- The Classic Table Tent: The most effective method. Use a clean, simple design with a clear call-to-action (CTA).
- Bad: Just the code.
- Good: A heading that says “Scan for Our Menu” or “View Our Full Menu & Drinks List” above the code.
- Table Stickers: A durable, vinyl sticker stuck directly to the table or at the center of a condiment caddy.
- Small Plaques: A classy wooden or acrylic block with the code engraved or printed on it.
- At the Entrance: Have a larger sign at the host stand so guests can browse the menu while they wait for a table. (See our [Internal Link:
Guide to Restaurant Branding] for more ideas).
The Game-Changer: How to Track QR Menu Scans
Because you used a dynamic QR generator like Bitly (as we did in Step 4), you now have a powerful analytics dashboard.
Log into your Bitly account and click on your link. You will see a dashboard that shows you:
- Total Scans (Clicks): This is your core metric. How many people are actually using your menu? If you had 100 tables and only 12 scans, your QR codes might not be visible enough.
- Scans by Time of Day: This is fascinating. You can see a graph of when people are scanning. You’ll see huge spikes right at your 12:00 PM lunch rush and 7:00 PM dinner rush. This data can help you confirm your peak hours and staff accordingly.
- Top Referrers/Location: This usually shows “Direct” or location data, confirming that the scans are happening from your restaurant.
By tracking this data, you’ve turned your menu into an intelligence-gathering tool. You can test the placement of your QR codes (e.g., “Did we get more scans when we put them on a table tent vs. a sticker?”) and make data-driven decisions.
Your Business is Now Digital
To create a free QR menu is no longer a complex technical challenge. By following these five steps, you’ve done more than just save money on printing. You’ve created a flexible, updateable, and trackable digital hub for your restaurant.
You’ve built a system where you can update your menu daily from your phone, see exactly how many customers are viewing it, and provide a richer, more modern experience. This is the new standard of hospitality, and you’ve just built it for free.
Beyond just your local listings, understanding the fundamentals of search engine optimization is crucial for your entire website’s success. For a definitive, foundational resource, we highly recommend reading the official Google Search Central SEO Starter Guide. It provides a comprehensive overview of how Google indexes and ranks content, straight from the source.
Now that your menu is digital, the next logical step is to ensure the rest of your online presence is just as optimized. Start by mastering your [Local SEO for Restaurants: The Ultimate Guide].

